Knife handles and care.
Most of what makes a hunting knife yours is not the blade. It is the handle that fits your hand, the sheath that came off your own pattern and the edge you put on it, and every one of those is achievable at a bench with hand tools and no forge in sight.
This is also the most direct use for antler off your own animal. A crown section that started as a shed in a February field ends up as the handle of the knife you dress the next one with, which is about as neat a loop as the whole using-it-all idea gets.
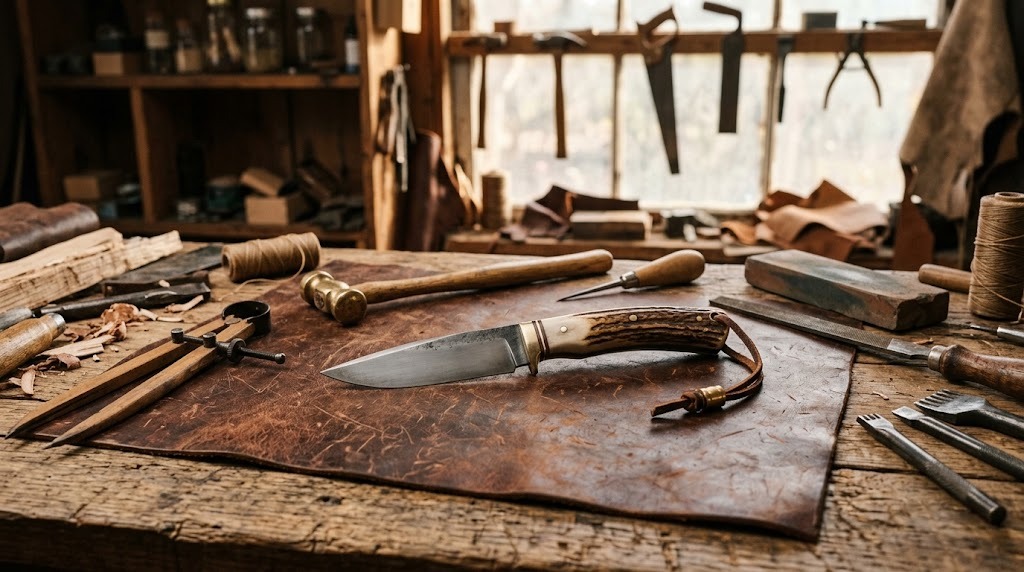
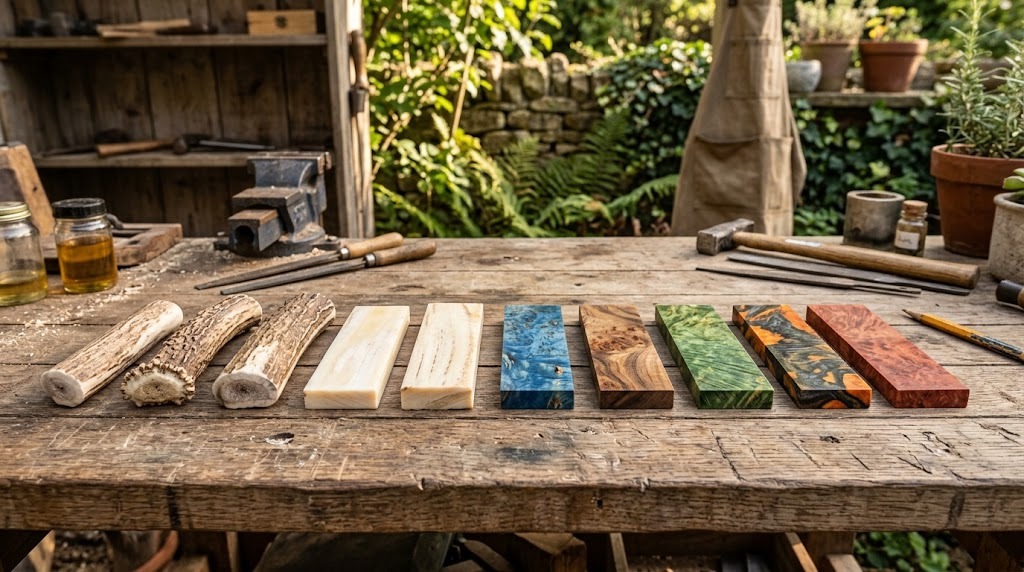
Antler, bone and wood
Antler crown makes the classic hunting handle: dense, warm, grippy when wet, and every one different. Bone is harder, whiter and takes a polish, though it wants thorough degreasing first or it yellows. Stabilised hardwood - burl impregnated with resin under vacuum - is the modern default because it does not move with humidity the way plain wood does, and a handle that shrinks away from the tang is a handle that comes loose. Whichever material, the pieces are matched as a pair, flattened dead true on the inside face, and shaped only after they are on the knife.
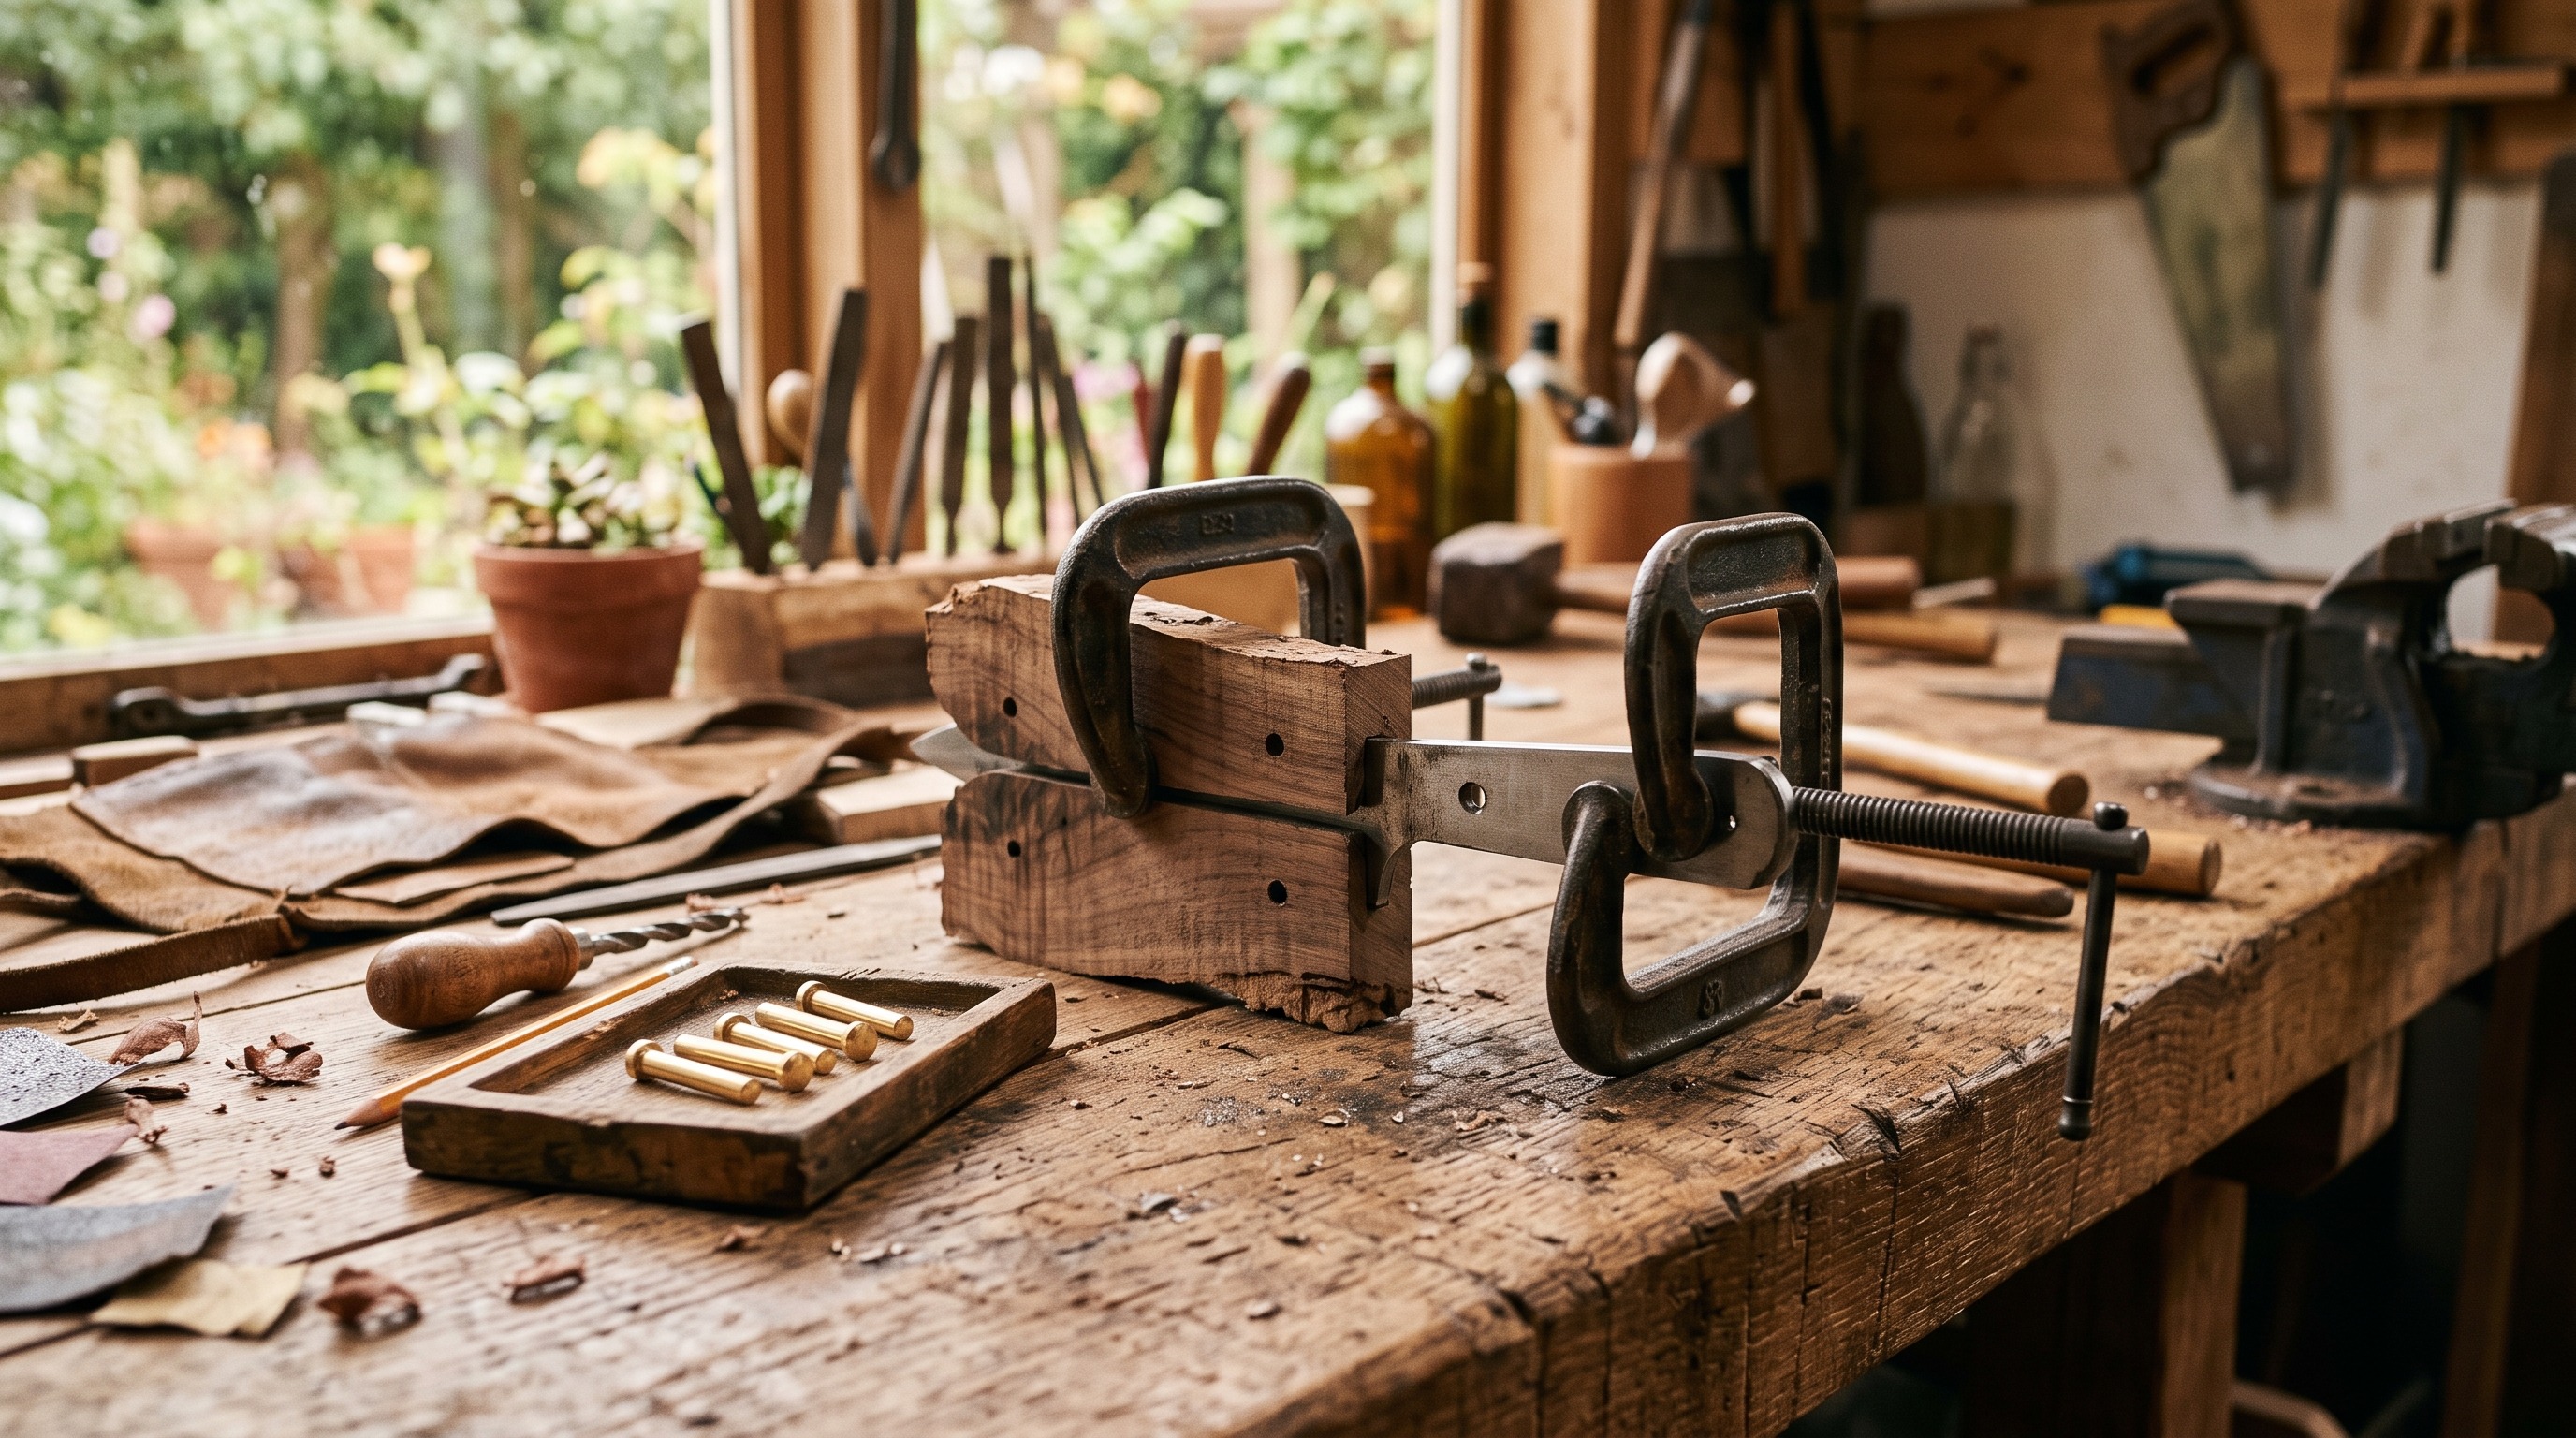
Fitting scales and pins
A full-tang knife takes two scales pinned and glued to the tang. The inside faces have to be flat enough to sit with no gap - a thin line of light through the joint becomes a crack later. Pin holes are drilled through scale and tang together so they line up, and the pins are usually brass, stainless or mosaic rod, peened or epoxied depending on the material. Glue-up is done in a clamp with even pressure and no starved joints, and the shaping - rasp, then files, then progressively finer abrasive - all happens after the epoxy has fully cured.
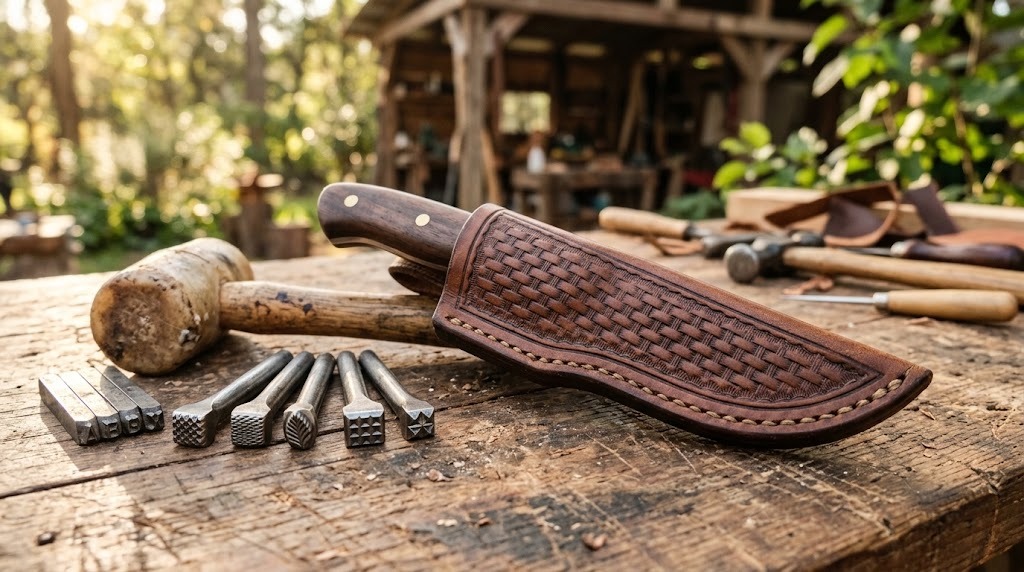
Leather sheaths
A sheath is a leather project rather than a knife project, and it is the natural next thing after a first handle. Vegetable-tanned leather is the material because it can be wet-formed around the blade and will hold that shape. The pattern is taken from the knife itself, the welt between the panels keeps the edge off the stitching, and the whole thing is saddle-stitched by hand. Tooling and stamping happen while the leather is damp. A sheath that fits is a friction fit at the handle, not a strap fighting the blade.
Sharpening and edge angle
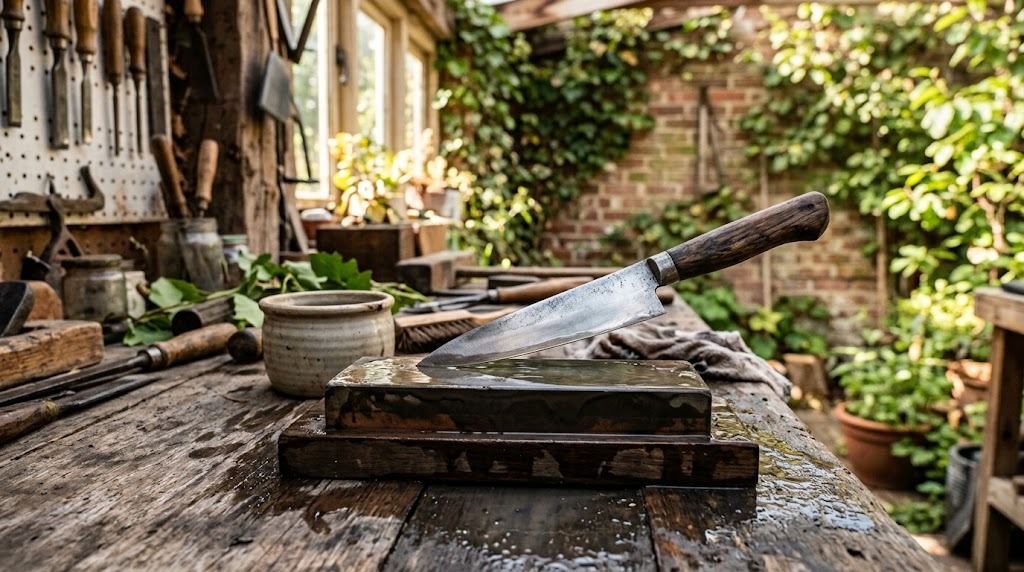
The angle matters more than the stone. A steep edge - around twenty five degrees per side - is durable and right for chopping; a shallow one around fifteen cuts far better and chips sooner. Hunting knives generally live between the two. Whatever angle you choose, the job is holding it consistently through the grits, which is why guided systems exist and why freehand takes practice. Work up through the stones until a burr forms along the whole edge, flip and repeat, then strop the burr off. Most knives that will not cut are not blunt so much as inconsistently ground.
Care in the field
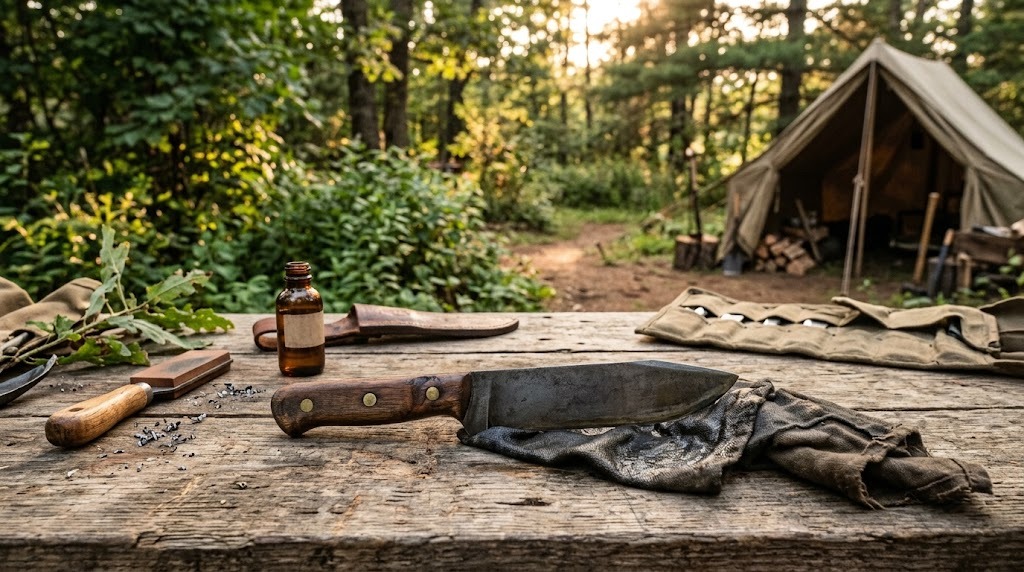
Carbon steel takes a better edge and rusts if you look at it wrong; stainless is the opposite trade. Either way the rule is the same: clean and dry the blade before it goes back in the sheath, because leather holds moisture and salts against steel and a knife left wet in a sheath comes out pitted. Wipe with an oiled cloth after use. Handles of natural material want an occasional wax or oil. Store knives out of their sheaths over the winter rather than in them.
Why we stop before the forge
This page covers handles, sheaths, sharpening and care - not making the blade. Forging and heat treatment are a separate craft with a serious risk profile: a coal or gas forge, quench oil that can catch fire, a grinder that throws sparks and steel dust, and heat treatment that has to be right or the blade fails in use. It is entirely learnable, and it is learned from a smith in the room, not from a web page. We would rather say that plainly than write a paragraph that makes it sound simple.