How to Sight In Your Rifle
The short answer: sighting in is a repeatable process of confirming where your rifle actually hits at a known distance, then adjusting the scope in measured increments. Here is how the process is generally described, and which official sources decide the rest.
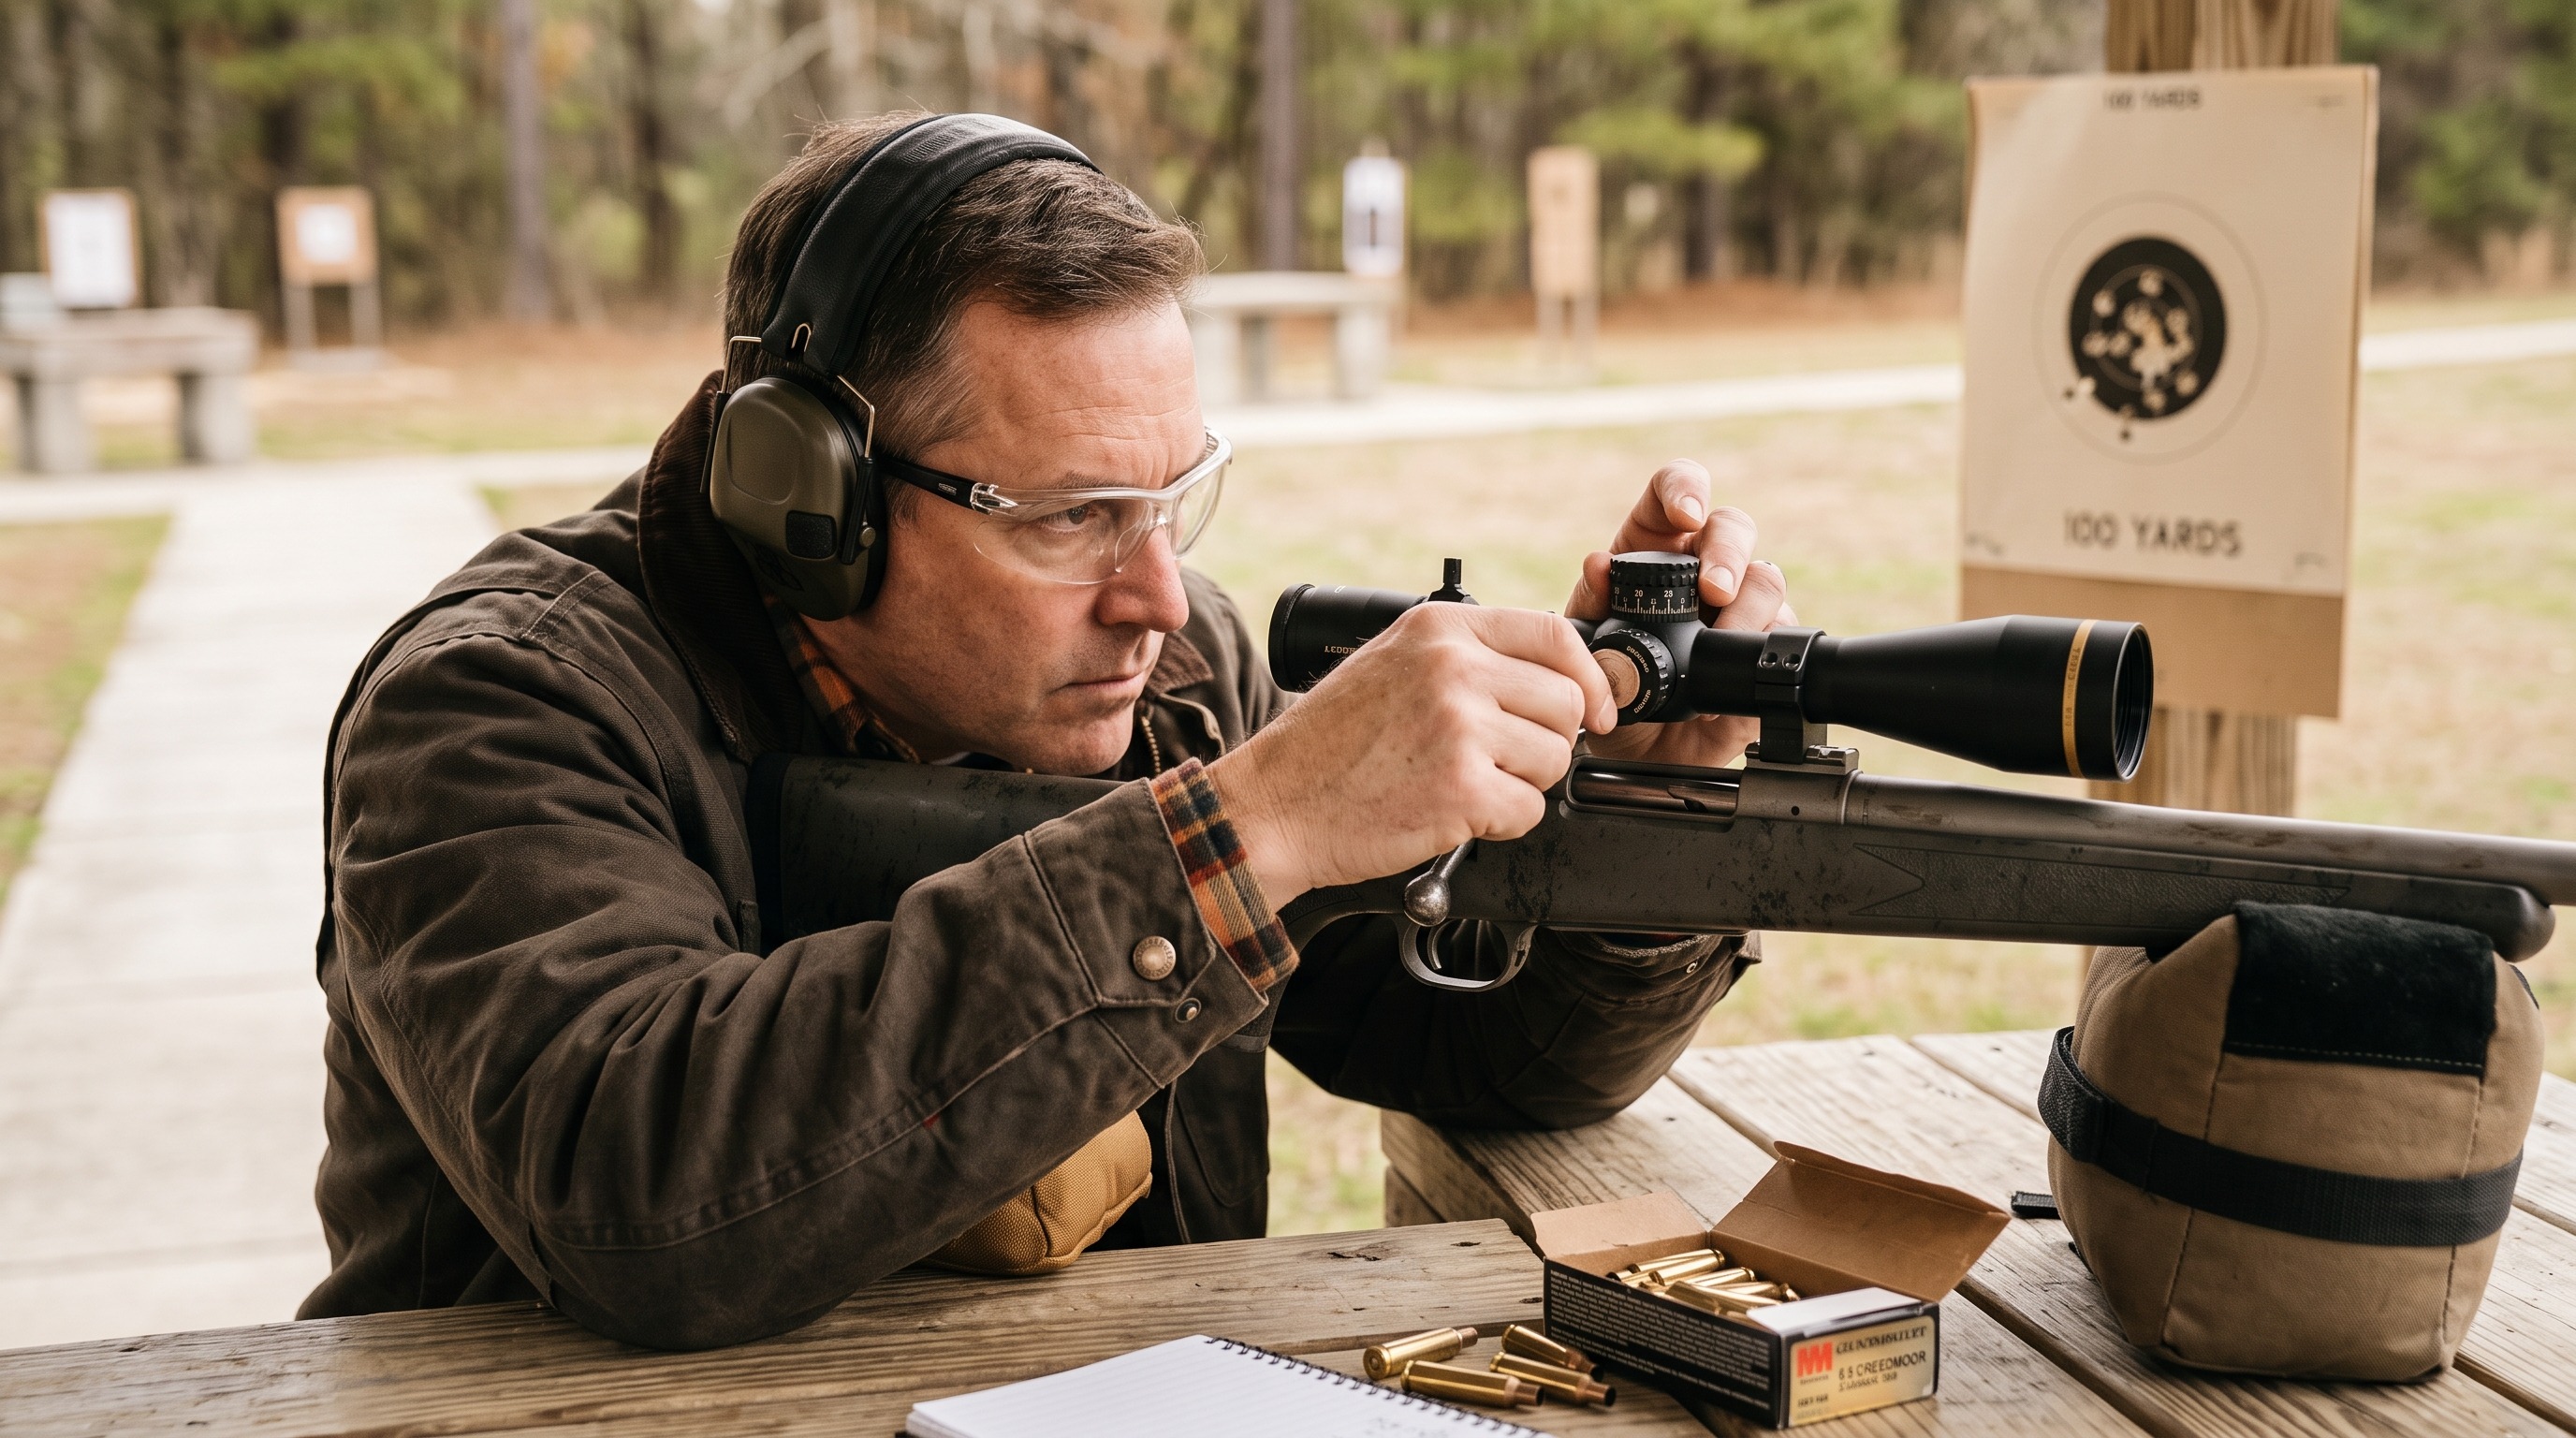
Please read this first. This is a reading guide, not instruction. Firearm handling, range procedure and ammunition selection are safety-critical subjects governed by your range’s rules, your local law, your rifle manufacturer’s manual and your ammunition maker’s published data - those are the authorities, and we do not give shooting, ballistic or legal advice. Certified hunter education and a qualified range officer or gunsmith are the right places to learn or confirm any of this. If anything below conflicts with your manual, your range or your instructor, they are correct and this page is not.
The short answer: sighting in means confirming where your rifle and load actually strike at a known distance and then moving the scope’s point of aim to match, in measured clicks rather than guesses. Most of the frustration people report at the range comes from three things - a scope or mount that was never properly tightened, shooting groups from an unstable rest, or firing too many rounds too quickly from a hot barrel. Late August and early September is when ranges fill up with hunters discovering exactly that.
What “zero” actually means
A zero is a distance, not a setting. A rifle “zeroed at 100 yards” means the bullet’s path crosses the line of sight at 100 yards. Because the bore sits below the scope, the bullet starts low, rises through the line of sight, and crosses it again further out before dropping away. That gives every rifle two crossing points and a curve in between, which is why the same rifle can print low at 25 yards, dead on at 100, and several inches low at 300.
Which zero distance suits your hunting is a decision that depends on your cartridge, your load, your optic and the ranges you actually shoot - your ammunition manufacturer’s ballistic data is the reference for that, and our zero and holdover tool exists to help you visualise the curve for numbers you supply.
Before any of it, the mechanical checks
Almost every “my scope won’t hold zero” story ends up being hardware:
- Action screws and scope base or ring screws torqued to the manufacturer’s published values, not by feel
- Rings correctly aligned and the scope not stressed or twisted in them
- Eye relief and reticle level set for how you actually shoot the rifle
- A clean, undamaged crown and a barrel free of obstruction
- Consistent ammunition - one load, one lot, for the whole session
Mounting is its own subject and easy to get subtly wrong; our scope mounting guide covers what typically goes wrong there.
How scope adjustments are measured
Two systems dominate, and mixing them up is the single most common cause of chasing a group around the target:
- MOA turrets. One minute of angle is about 1.047 inches at 100 yards, which everyone rounds to one inch. Most hunting scopes use quarter-MOA clicks, so four clicks moves impact roughly one inch at 100 yards, two inches at 200 yards, and a quarter of an inch at 25 yards.
- Milliradian turrets. One mil is about 3.6 inches at 100 yards, and typical 0.1 mil clicks move impact about 0.36 inches at 100 yards.
Your turret caps say which system you have, and the manual states the click value. The distance scaling is the part people forget: the same click does four times less at 25 yards than at 100.
The process, as it is commonly taught
- Start with a bore sight or a short-range check to get on paper. A visual bore sight through the barrel on a bolt gun, or a mechanical or laser bore sighter, saves ammunition.
- Shoot from a genuinely stable rest. A solid front support and a rear bag remove most human error. A group fired off a rolled jacket tells you very little about the rifle.
- Fire a group, not a shot. Three rounds is the common minimum, and the centre of the group - not the last hole - is what you measure from.
- Measure the distance from group centre to the aiming point, in inches or mils, and convert that into clicks using your turret value and your actual distance.
- Adjust, then confirm with a fresh group. Do not adjust after every shot.
- Let the barrel cool between groups. Sporter-weight hunting barrels shift as they heat, and a string of ten fast rounds produces a group that will not repeat on a cold barrel on opening morning.
- Verify at the distance you will actually hunt, not only at the range where you set up.
- Record everything. Load, lot, zero distance, conditions and confirmed drops. A written record beats memory every season, and a dope card is the usual format.
The last step almost everyone skips
A bench zero is a laboratory result. Field positions - sitting, kneeling, off a pack, off shooting sticks, in wind, wearing the clothing you actually hunt in - produce different groups, and finding that out during the season is expensive. Confirming your zero from realistic positions, at realistic distances, in the gear you will wear, is the part experienced shooters treat as non-negotiable.
Also worth remembering: a rifle that travels, gets knocked in a truck, or lives in a hard case all summer should be confirmed again before the season rather than assumed. And ethical shot distance is a separate question from mechanical accuracy - the hunting safety guide and your hunter education material cover that ground.
Where to get the real answers
For anything specific, go to the source rather than a website:
- Your rifle and scope manufacturers’ manuals for torque values, click values and function
- Your ammunition manufacturer’s published ballistic data for trajectory
- Your state or national wildlife agency and certified hunter education for legal and safety requirements
- Your range’s posted rules and range officers for procedure on the day
- A qualified gunsmith for anything mechanical that does not behave as the manual describes
The honest bottom line
Sighting in is not difficult, but it is unforgiving of shortcuts: loose hardware, a wobbly rest, a hot barrel and single-shot adjustments account for most of the misery at the range. Confirm the mechanics, understand what one click does at your actual distance, shoot groups from a stable position, let the rifle cool, write it down, and then confirm the whole thing again from the positions you will really use. And take every procedural detail from your manuals, your range and certified instruction rather than from any article, including this one.