Reading Topo Maps for Hunting
How to read contour lines on a topographic map to find the ridges, saddles, benches and draws that deer and elk use, then check those marks against aerial photos, the wind and a walk on the ground.
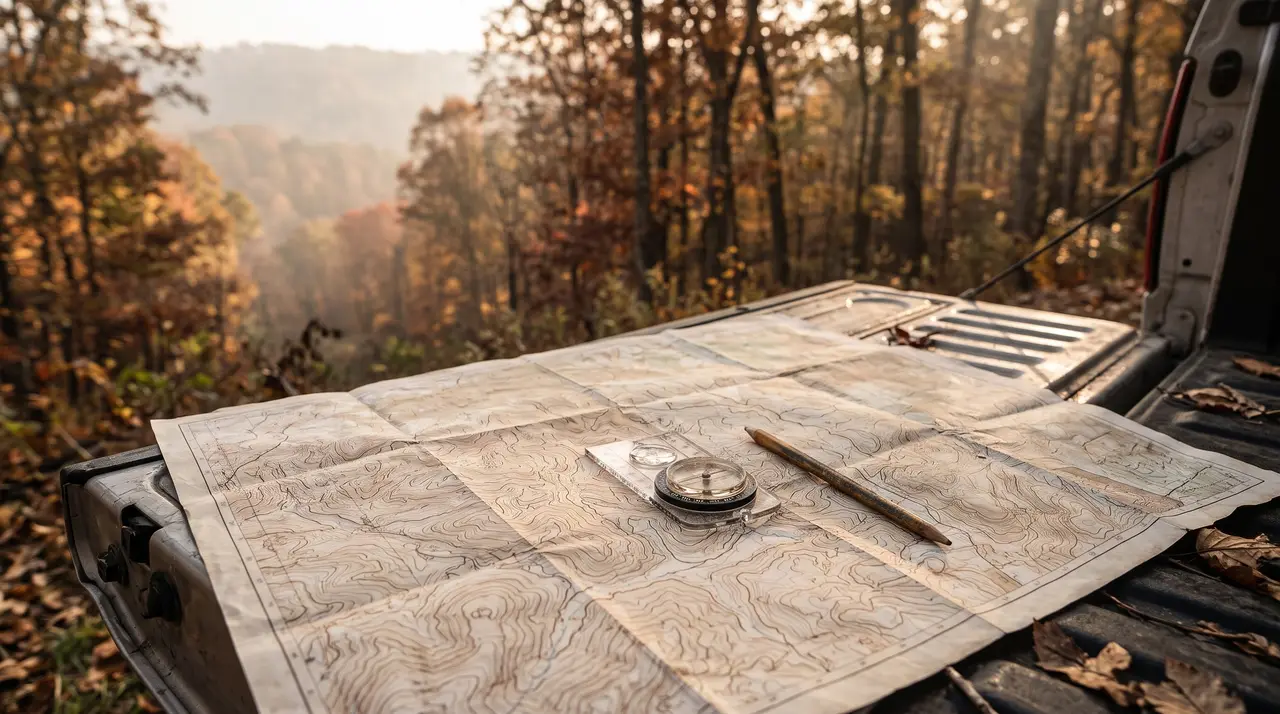
A topographic map shows you where game is likely to travel and bed before you ever walk the ground. The lines on it trace the shape of the land, and the shapes that matter to a hunter (ridges, saddles, benches, draws and steep breaks) are all readable once you know what each one looks like in contour lines. Read the map first, mark a handful of spots, then use aerial photos and a careful walk to decide which ones are worth a stand.
What contour lines tell you
The USGS explains that the defining feature of a topographic map is its elevation contour lines, each one joining points at the same elevation, and that together they show the height and shape of the land and how steep the slopes are. Three habits make them easy to read:
- Check the contour interval. The map legend gives the height difference between neighbouring lines. The same pattern means a gentle rise on one map and a real climb on another.
- Spacing is steepness. Lines packed tight together mean a steep slope. Lines spread wide mean flat or gently sloping ground.
- Find the high and low points first. Closed rings mark hilltops. Blue lines mark streams, which always run along the low ground.
Once you can see the hills and the creeks, every other feature sits between them.
The shapes that matter to a hunter
Most of the terrain features we cover in our terrain guides show up on a map as a simple pattern.
- Ridges and spurs. Contour lines bend into U or V shapes that point downhill. Each one is a spur running off the main ridge, and the points where spurs meet the main ridge or drop toward food are worth marking.
- Draws and ravines. The opposite pattern: V shapes that point uphill, usually with a stream line or a dry drainage in the bottom. Deer often use the edges of draws to move between ridges and the low ground.
- Saddles. A low dip in a ridge between two higher points, drawn as an hourglass pinch where two sets of rings almost meet. Animals crossing a ridge tend to use the low spot, and our saddle guide covers how to hunt one.
- Benches. A flat shelf partway up a slope, where tightly packed lines suddenly spread apart for a stretch and then close up again. Benches make easy travel lanes along a hillside, and the bench guide explains why they often hold beds on the sheltered side.
- Steep breaks and bluffs. Lines so tight they nearly touch. These are barriers that push movement around them, which turns the gaps and ends of a bluff into pinch points.
Layer the map with aerial photos
Contours show the shape of the land; aerial photos show the cover on it. Laying the two together is where good spots appear.
- Mark terrain features on the topo layer: saddles, benches, spur tips, draw heads and bluff gaps.
- Switch to the aerial layer and look at the cover over each mark. A bench in thick cover is a bedding candidate; the same bench in open hardwoods may be a travel lane.
- Look for food edges. Fields, clearcuts and oak stands near your marks tell you where the animals are travelling to and from.
- Look for overlap. The strongest marks are places where a terrain pinch and a cover pinch line up, such as a saddle with a strip of brush running through it.
Most hunting map apps offer both layers and let you switch between them. Paper maps work too; a printed topo and a printed aerial at the same scale can be compared side by side.
Add the wind before you choose a stand
A good spot on the map is only huntable if you can reach it and sit there without your scent blowing into the area you expect animals to come from. For each mark, think through which winds let you approach and sit without giving yourself away, and how the access route crosses the terrain. Air also tends to drift uphill as slopes warm in the morning and downhill as they cool in the evening, which matters most on steep ground. Our scouting guide covers access routes and timing in more detail.
Check it on the ground
A map can tell you where to look; only the ground can tell you what is there. Walk your best marks when it will cost you least, usually after the season or early before it, and look for trails, rubs, beds and droppings that confirm animals use the spot. Some marks will turn out to be dead ends, and that is part of the process.
Before you go, check property boundaries. Map apps show land ownership layers, but treat them as a guide and confirm the boundaries and any permission you need with the landowner or the agency that manages public land. Rules on scouting, trail cameras and access differ by state and by property.
Recommended Gear on Amazon
- Waterproof map cases - browse current options and reviews on Amazon.
- Baseplate compass - browse current options and reviews on Amazon.
- Wind checker powder - browse current options and reviews on Amazon.
As an Amazon Associate, we earn from qualifying purchases - at no extra cost to you. This helps us keep producing free, in-depth guides.